Easter dresses from my sister-in-law's fabric line! Emilie Daly Designs, Mary Jencks line!
http://www.emiliedalydesigns.com/
https://pinterest.com/emdalydesigns/
https://www.facebook.com/emiliedalydesigns
The best part about her designs is that they are sold online. Each design can me purchased in 3 different sizes. You can buy them at Modern Yardage here: http://www.modernyardage.com/shop/category/shop-by-category/mary-jencks-by-emilie-daly/
I used these fabrics:
-
Fan Flare in Pink, Large
Fan Flare in Pink, Medium
Organic Paisley in Blue, Medium
Natural Damask in Orange, Large
Dots in Pink, Small
Iris Pinwheel in White, Medium
Quartrefoil in Orange on White, Small
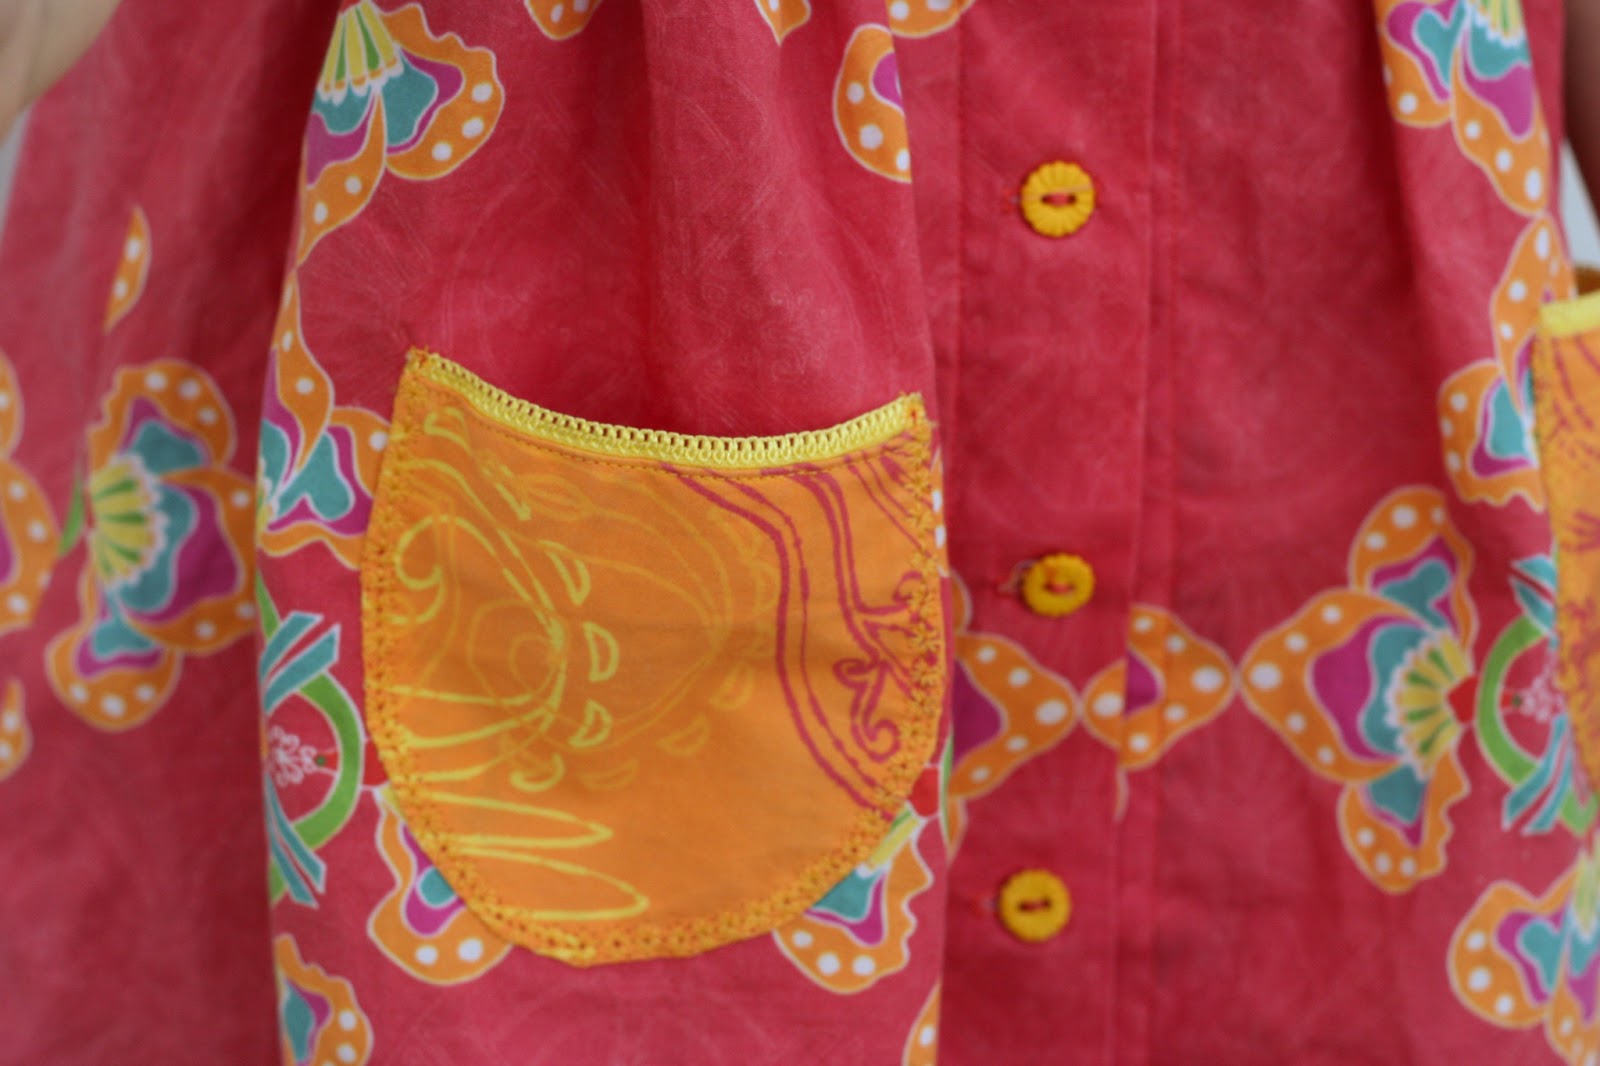
My baby's
dress was from an old pattern my mom had from her aunt.
Although the style in the 60's was to hem it up about 3 inches higher, I
wanted it longer and only did a small hem.

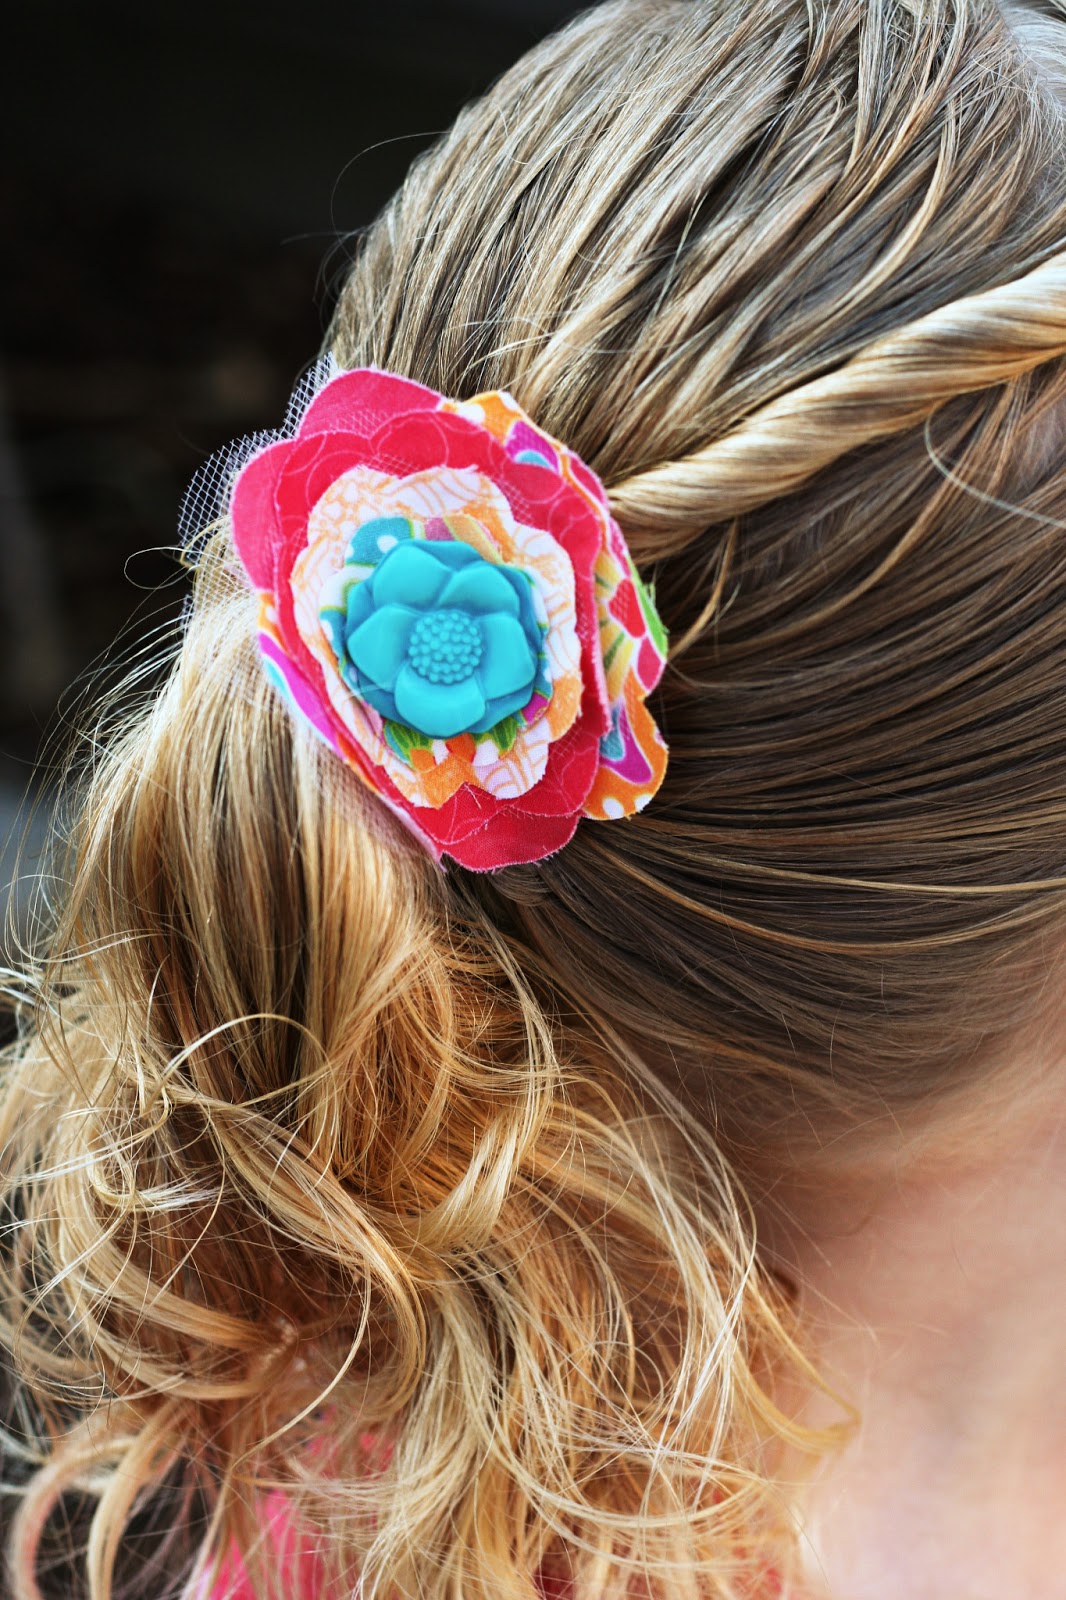
I
love the detailing of the small buttons and the pockets. I measured a
headband from Gymboree that we have to make this copy. I am going to
make a tutorial for how to make it soon. It is super cute!

My second daughter
chose a super cute pattern with a bubble skirt and a tie around the
waste. However, the top was super small and had ties around the neck so
I took another old pattern from my aunt for the top and sleeves.
She was the first one to choose the colors of her dress when I got the
fabric. I love what she chose. I think the dress looks great just how
she picked it.

I
also learned that she is really photogenic. She is a goofball when
taking photos, but so many of her photos turned out so good.
My oldest daughter
picked a pattern with a pieced together skirt. It was actually a lot
or work to get the skirt all put together, but it turned out really
cute. The top in the pattern didn't have sleeves, but I just used the
same sleeves from the other pattern to add sleeves to this dress. We
also found the perfect ric-rac for the detailing and the buttons on the
back at JoAnn's Fabric Store.
#emiliedalydesigns


 My second daughter
chose a super cute pattern with a bubble skirt and a tie around the
waste. However, the top was super small and had ties around the neck so
I took another old pattern from my aunt for the top and sleeves.
She was the first one to choose the colors of her dress when I got the
fabric. I love what she chose. I think the dress looks great just how
she picked it.
My second daughter
chose a super cute pattern with a bubble skirt and a tie around the
waste. However, the top was super small and had ties around the neck so
I took another old pattern from my aunt for the top and sleeves.
She was the first one to choose the colors of her dress when I got the
fabric. I love what she chose. I think the dress looks great just how
she picked it.


